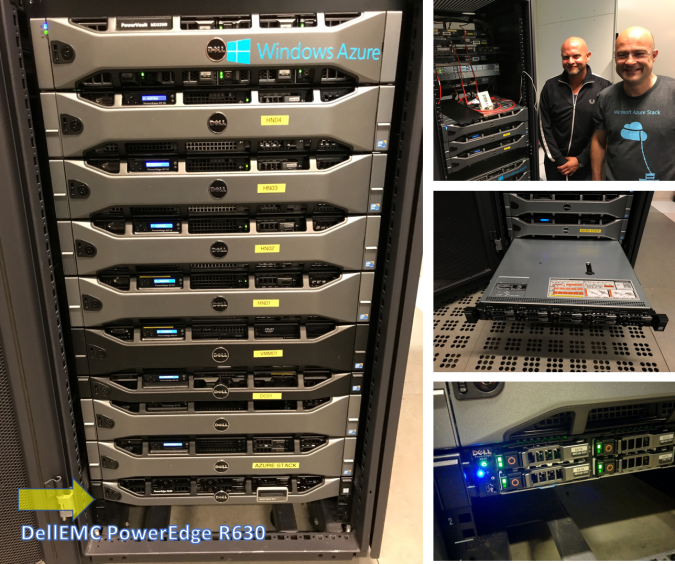
The Students are back at school and that means Cloud computing with Microsoft AzureStack in the Classroom. Before we begin we have to prepare the Dell EMC PowerEdge R630 Server with a redeployment of Microsoft Azure Stack Developer Kit (ASDK). In this blogpost we will share three items :
- Re-Deployment of Microsoft Azure Stack (ASDK)
- Connecting the Stack to Microsoft Azure for the Marketplace.
- Make an Offer & Plan subscription to Create your first VM on AzureStack.
Because we still have Technical Preview of AzureStack on our Dell EMC PowerEdge Server, we have to re-deploy AzureStack to the latest version. In the following step-by-step guide you see how we did that.
Of course we follow the Microsoft docs here as well for the re-deployment of AzureStack

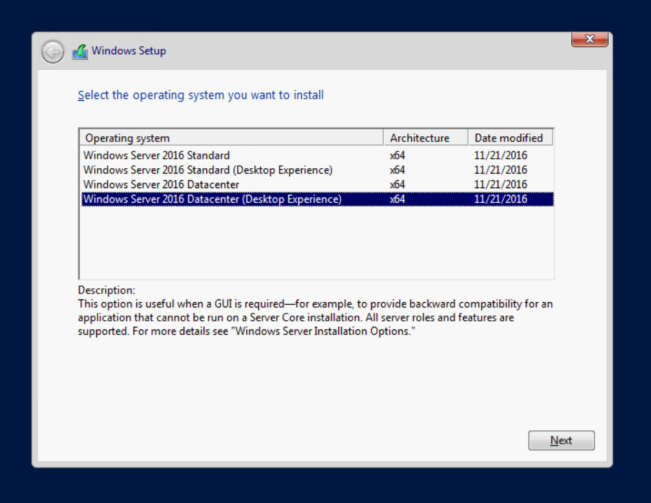
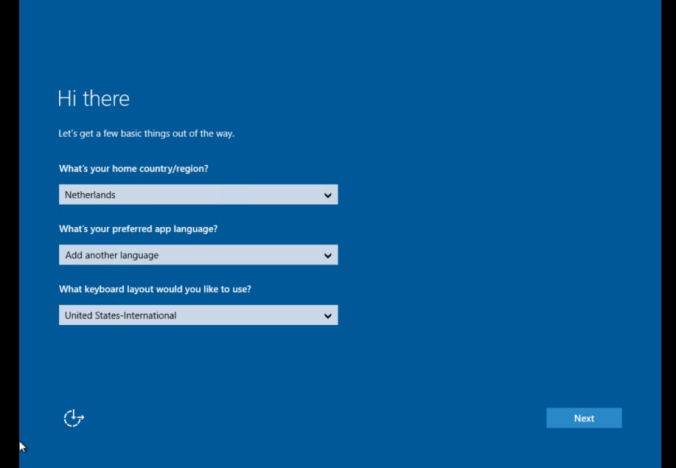
Select here Windows Server 2016 instead of Azure Stack
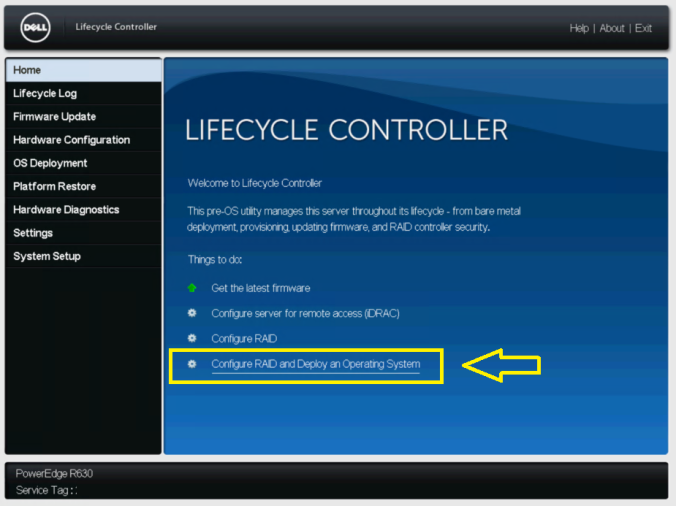
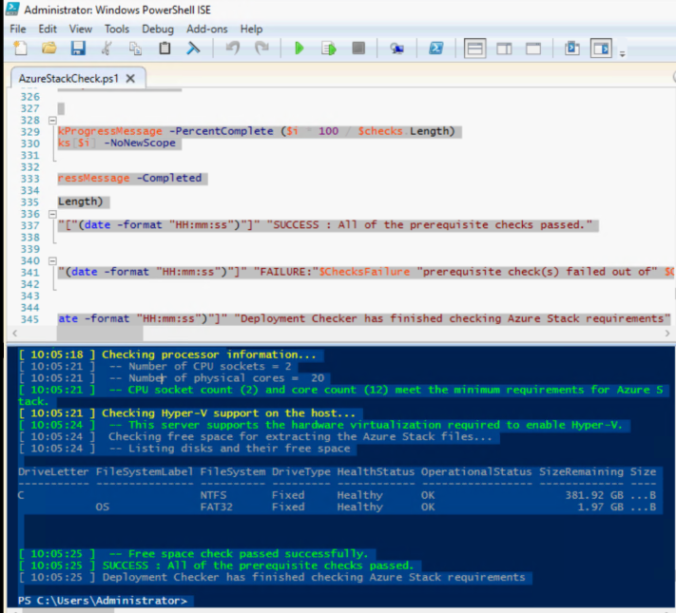
Steps to redeploy Azure Stack
- On the development kit host, open an elevated PowerShell console > navigate to the asdk-installer.ps1 script > run it > click Reboot.
- Select the base operating system (not Azure Stack) and click Next.
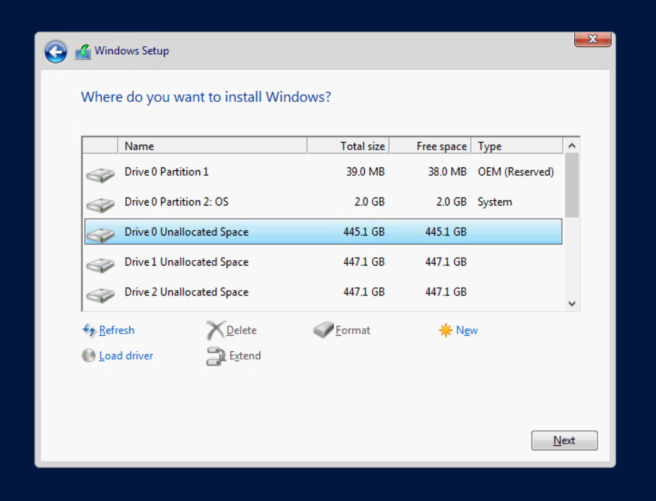
- After the development kit host reboots, delete the CloudBuilder.vhdx file that was used as part of the previous deployment.
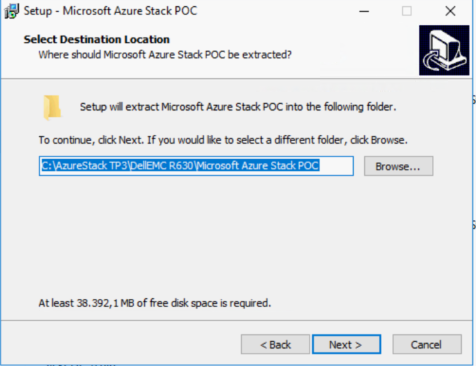
- Deploy the development kit
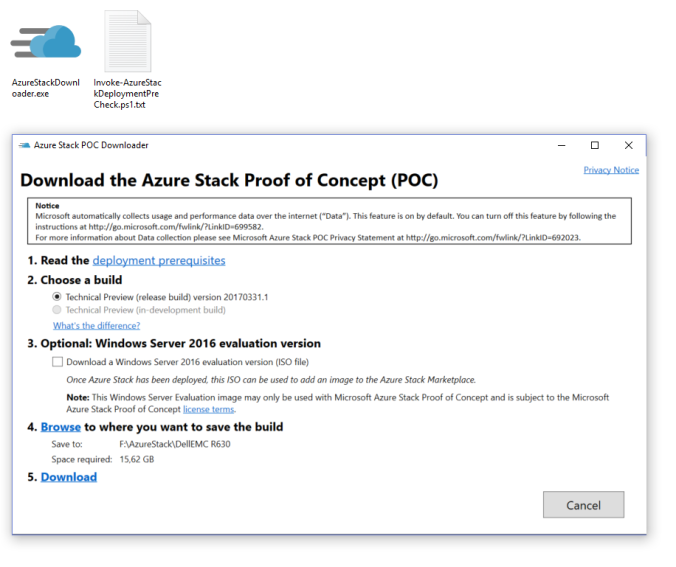
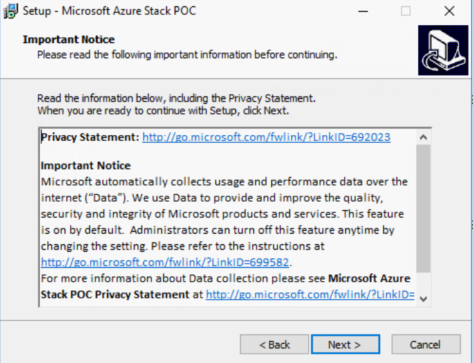
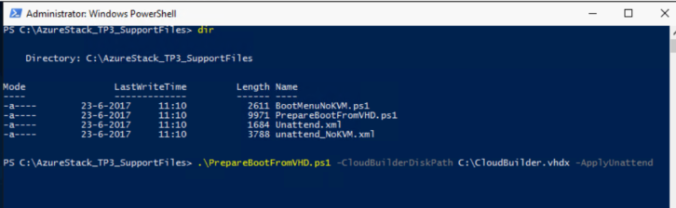
We downloaded the new ASDK software here and prepared the “CloudBuilder.vhdx”
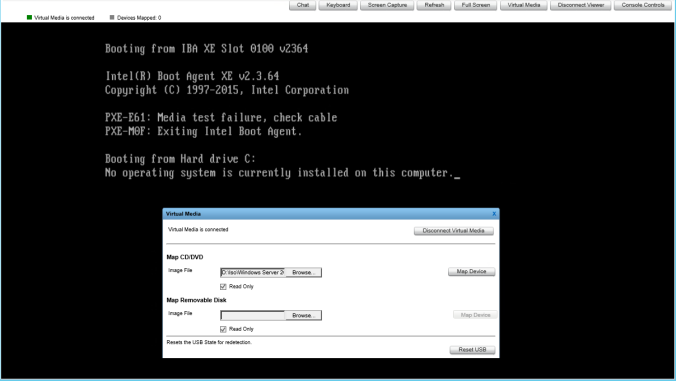
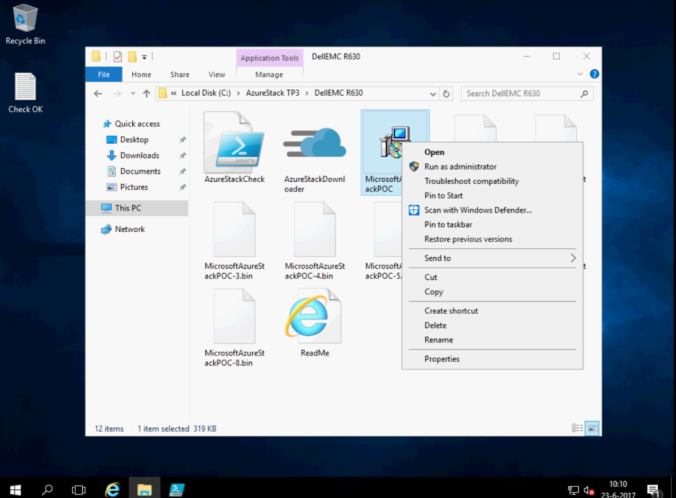
Because we already did an AzureStack Deployment of TP3 we placed the new CloudBuilder.vhdx on the Windows Server 2016 on C:\CloudBuilder.vhdx and reboot the Machine. In the Boot manager we Choose now for Azure Stack again 😉
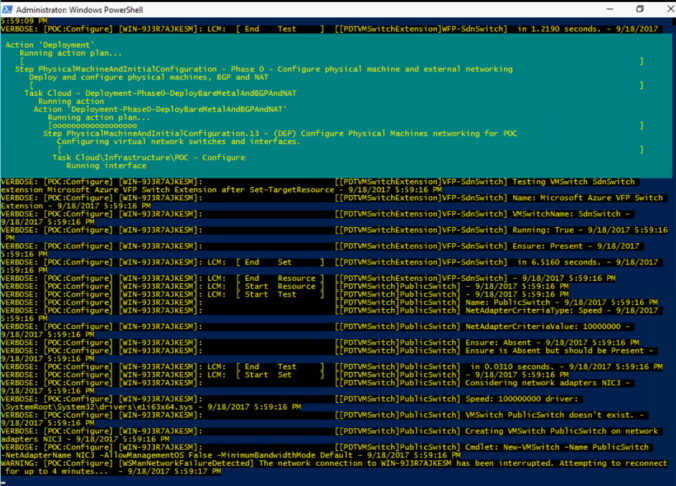
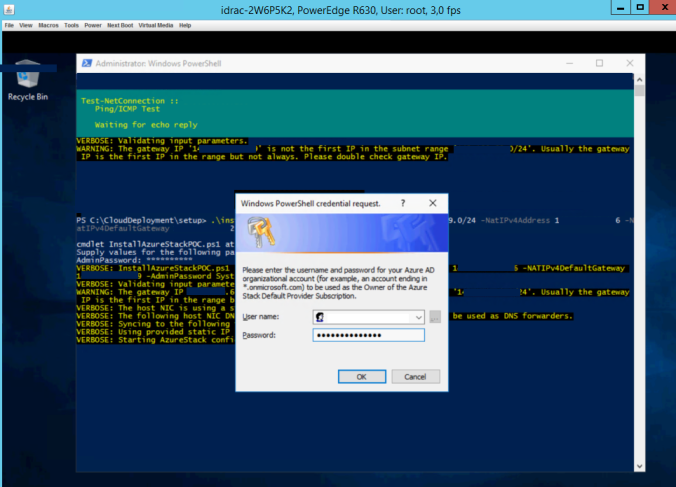
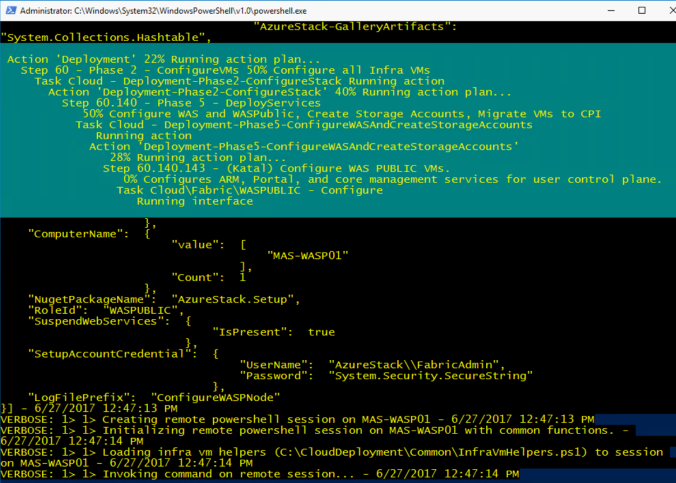
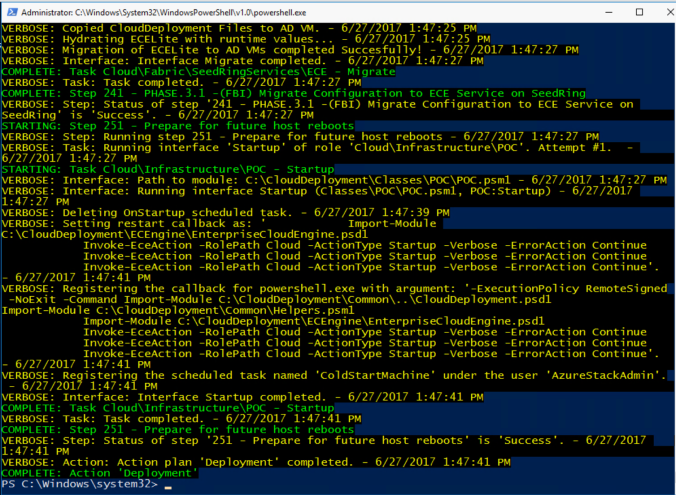
We run the AzureStack Script with the following Powershell commando in Administrator modus :
.\InstallAzureStackPOC.ps1 -NatIPv4Subnet 10.10.10.0/24 -NatIPv4Address 10.10.10.3 -NatIPv4DefaultGateway 10.10.10.1
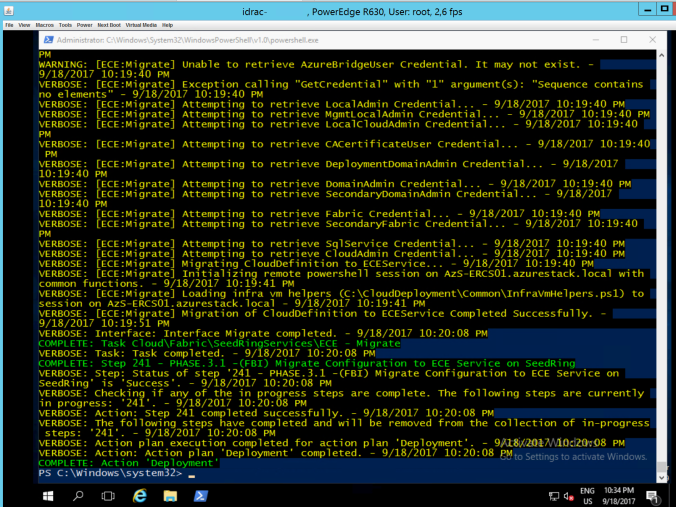
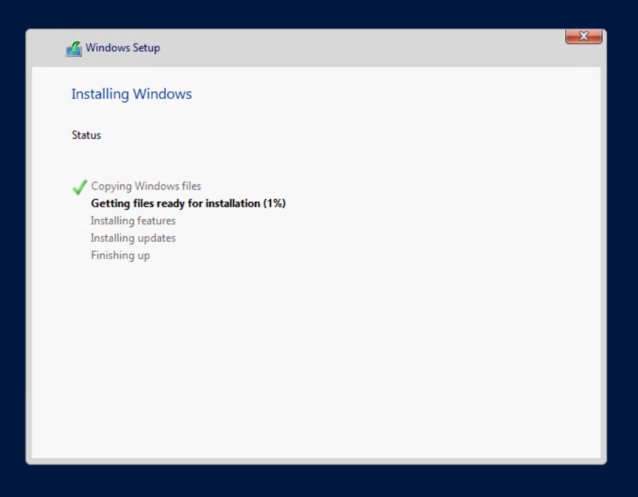
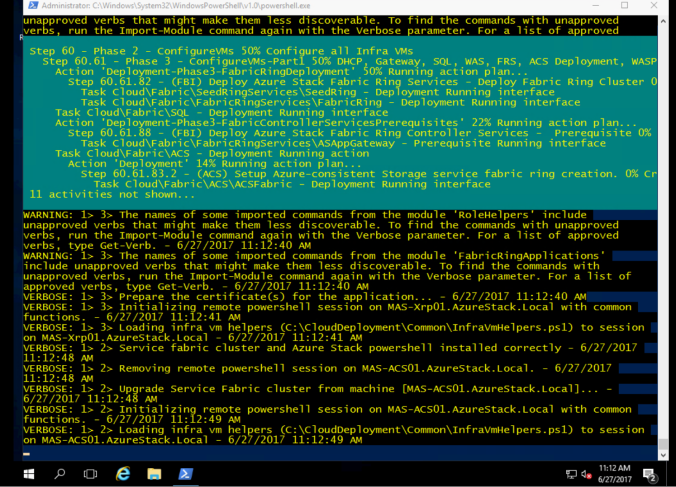
After more then five hours the AzureStack installation script was finished.

Reset the password expiration to 180 days
To make sure that the password for the development kit host doesn’t expire too soon, follow these steps after you deploy:+
- On the development kit host, open Group Policy Management and navigate to Group Policy Management – Forest: azurestack.local – Domains – azurestack.local.
- Right click on MemberServer and click Edit.
- In the Group Policy Management Editor, navigate to Computer Configuration – Policies – Windows Settings – Security Settings – Account Policies – Password Policy.
- In the right pane, double-click on Maximum password age.
- In the Maximum password age Properties dialog box, change the Password will expire in value to 180, then Click OK.
Now the Re-Deployment of Microsoft Azure Stack is done we saw some changes in the ASDK host, have a look in the Hyper-V Manager and you see they changed naming conventions of VM’s. That means in the ASDK that you don’t have to connect to
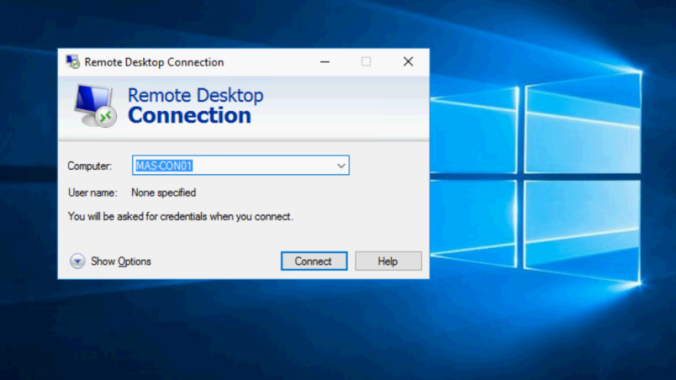
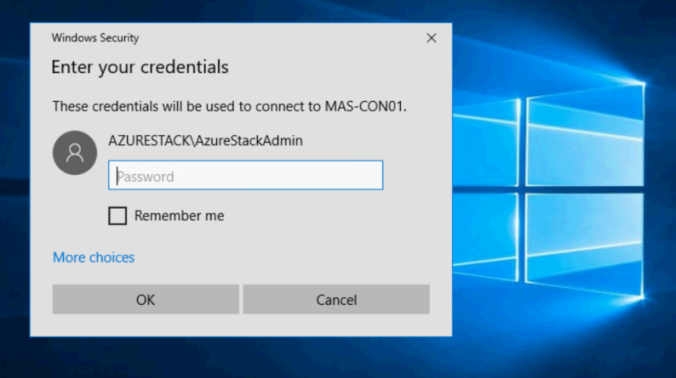
MAS-CON01 to jump to the AzureStack Admin portal. From the Azure Stack Developer Kit Host you can go directly to both Azure Stack portals:
- To open the Azure Stack operator’s portal, navigate to (https://adminportal.local.azurestack.external/) and sign in using the Azure Active Directory credentials specified during installation.
- To open the user portal, navigate to (https://portal.local.azurestack.external/) and sign in using user credentials
From here we go to the Azure Stack Admin portal to configure an Offer & Plan to Create a AzureStack subscription for the Students.
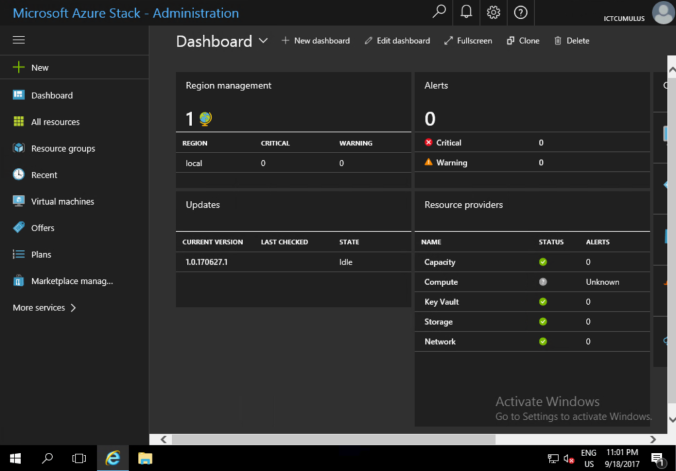
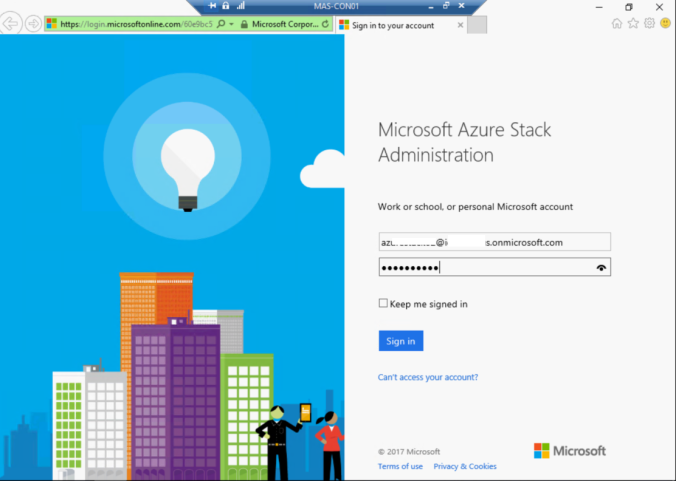
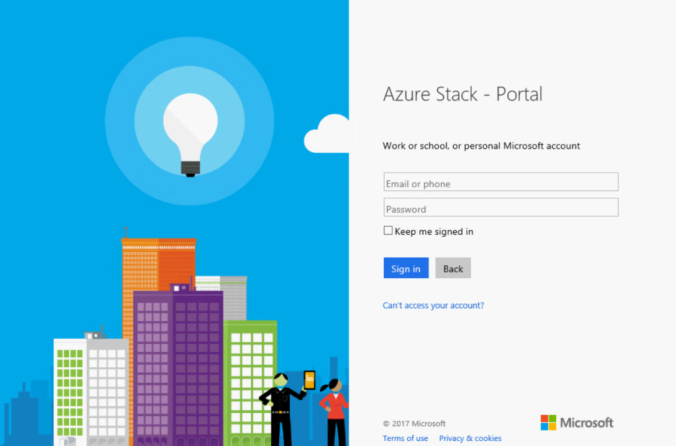
We login the AzureStack Admin portal https://adminportal.local.azurestack.external/
The way to connect to Microsoft Azure Stack (ASDK) you can find that here
Now we configure an Offer & Plan to make it possible for users to select an Azure Stack subscription to create a Virtual Machine for the first time. More information to do this you can find that here on Microsoft Docs
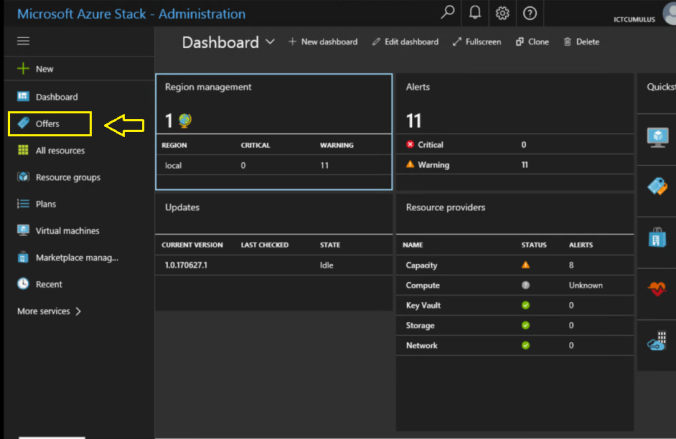 Step 1. Select Offer.
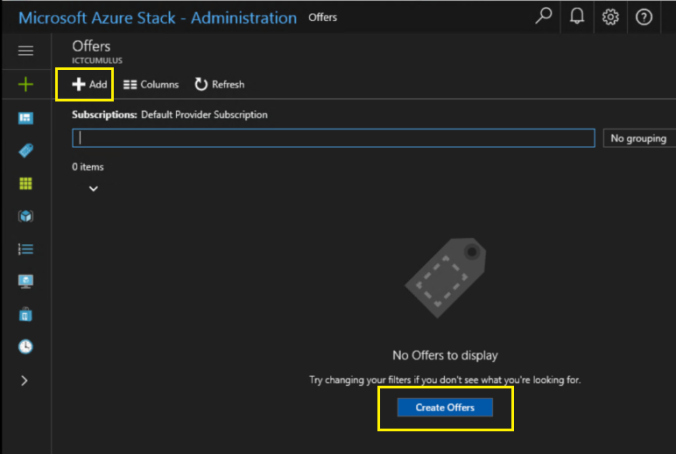
Step 2. Create Offer.
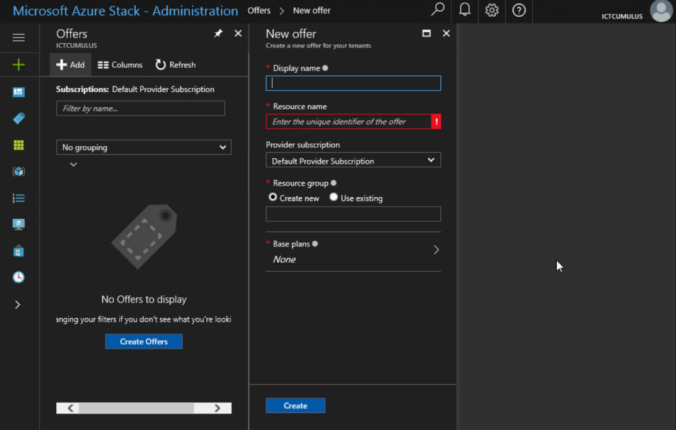
Step 3. Give your offer a name
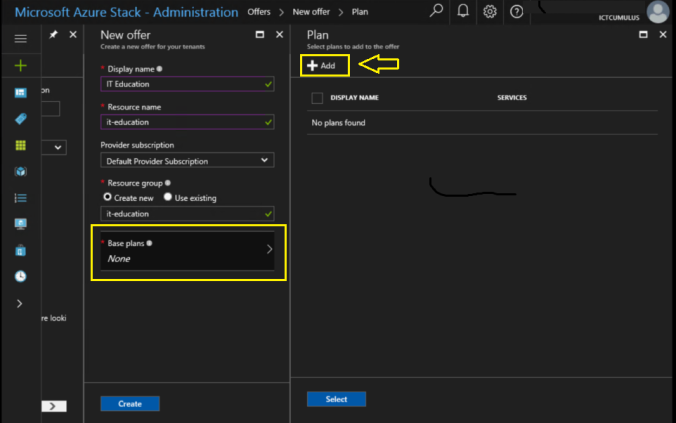
Step 4 Add a Plan to your Offer.
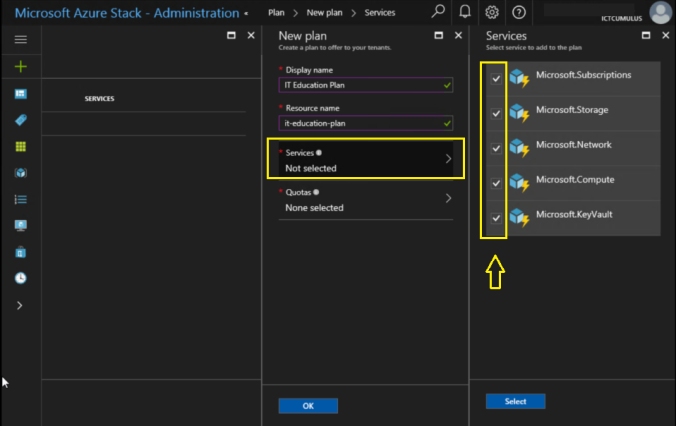
Step 5. Select the Services for the Plan
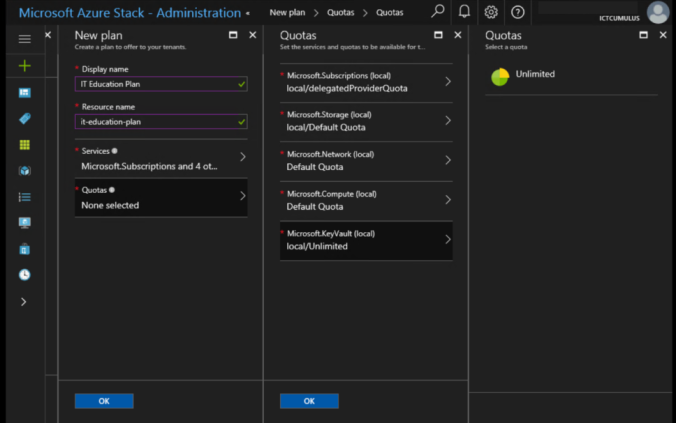
Step 6. Set the Quotas
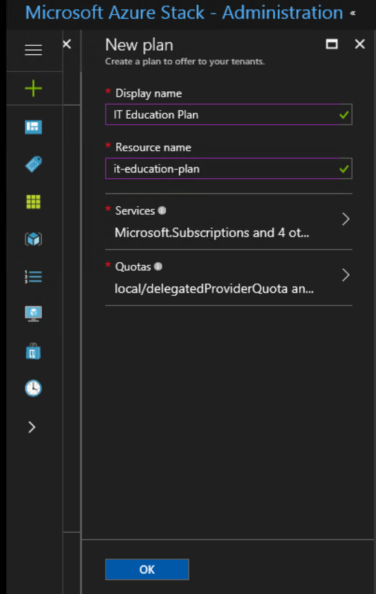
Step 7. Click on OK
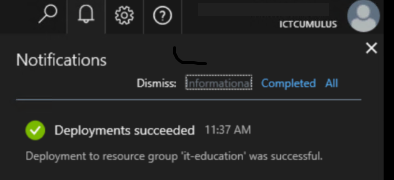
Step 8. Offer and Plan is successfully deployed.
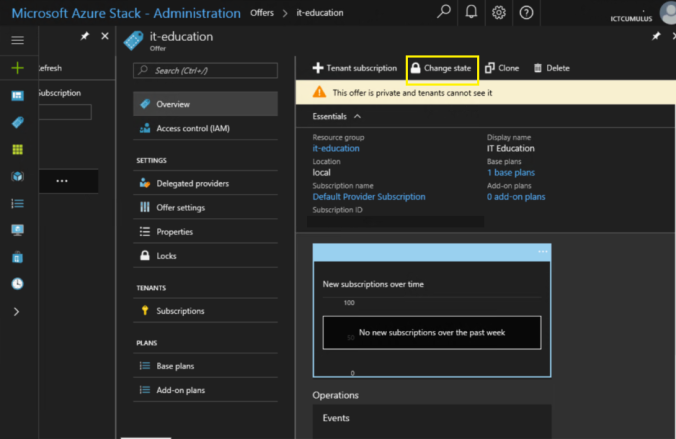
Step 9. You have to Change the Offer from private to public
Offer is updated.

The IT-Education Azure Stack subscription is created.
For Students to create Virtual Machines they need Images in the AzureStack marketplace. We will make this possible by connecting the Azure Marketplace and manage the images for the students.
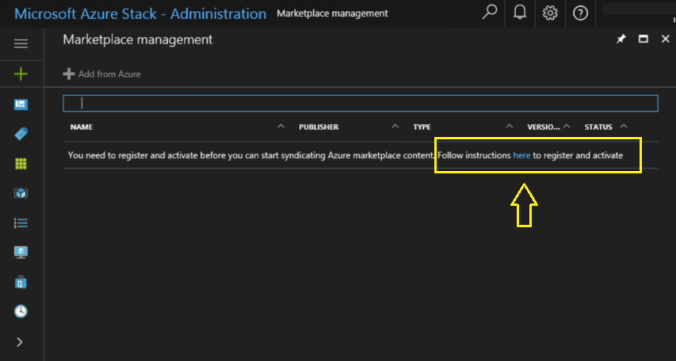
As you decide what content to include in your Azure Stack marketplace, you should consider the content available from the Azure marketplace. You can download from a curated list of Azure marketplace items that have been pre-tested to run on Azure Stack. New items are frequently added to this list, so make sure check back for new content.
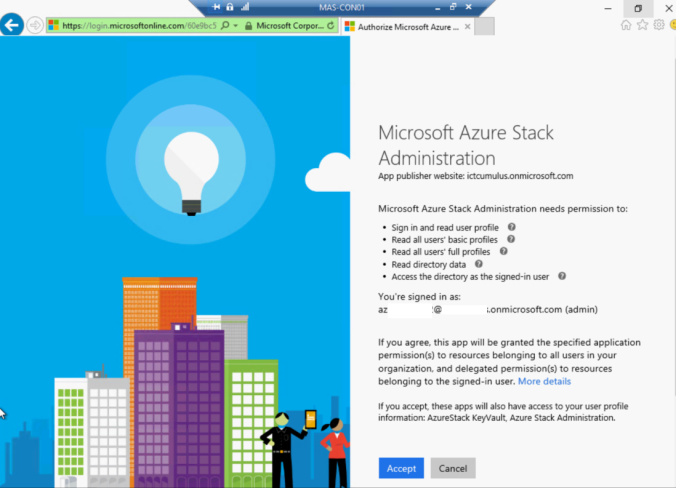
To download marketplace items, you must first register Azure Stack with Azure.
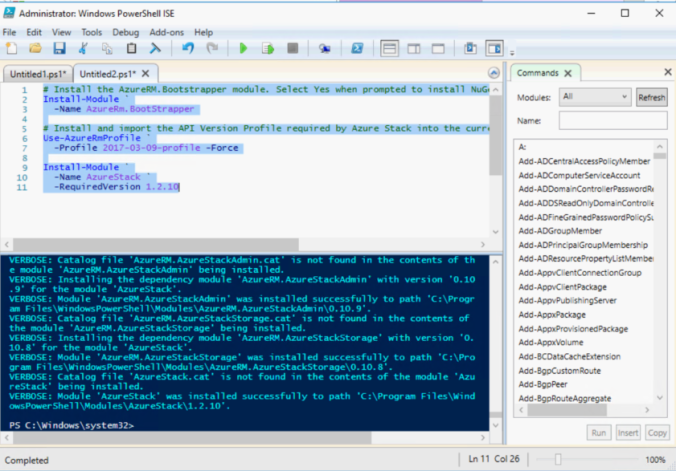
Install Powershell for Azure Stack
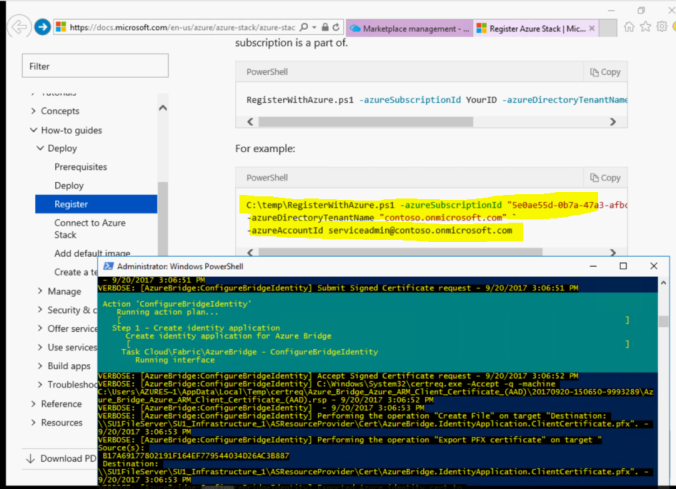
Register Azure Stack to your Azure Subscription
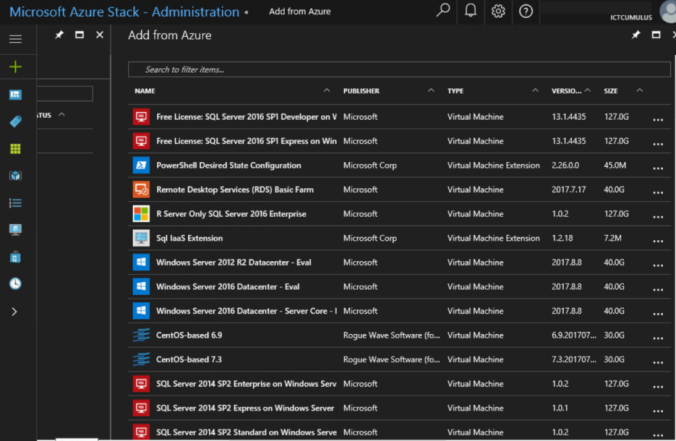
Now we can select images from the Microsoft Azure Marketplace.
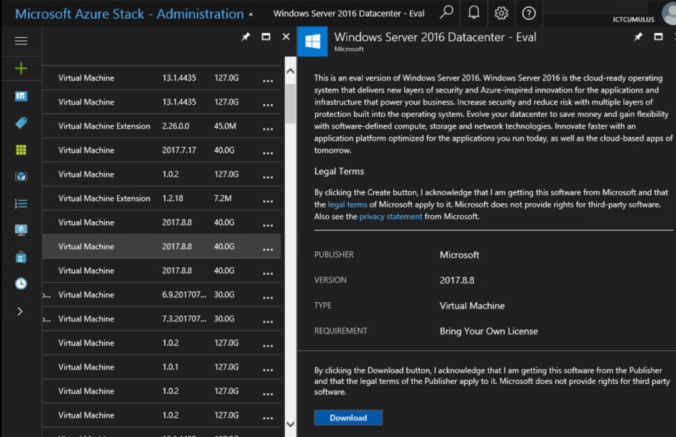
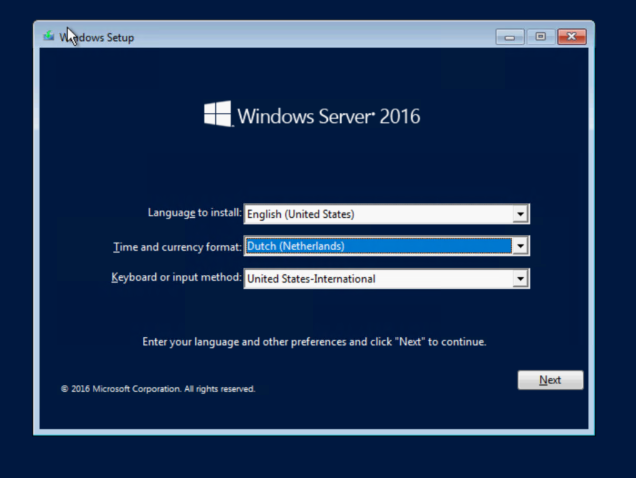
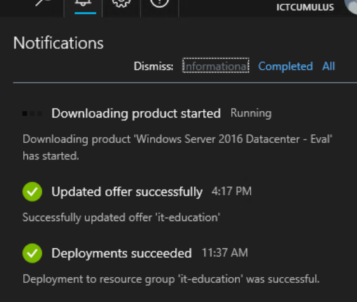
We download Windows Server 2016 Datacenter Edition.
Now it’s time to test the Azure Stack subscription “IT-Education” in the User portal for students by login to https://portal.local.azurestack.external/ with a student account from your Azure subscription *********@domain.onmicrosoft.com
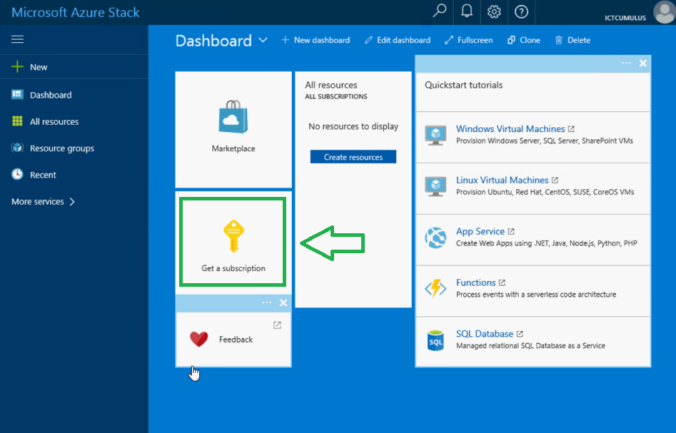 Click on Get a Subscription.
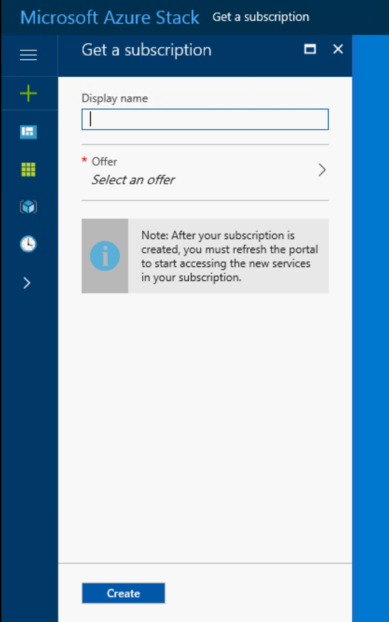
Step 1. Give you own display name and select an Offer
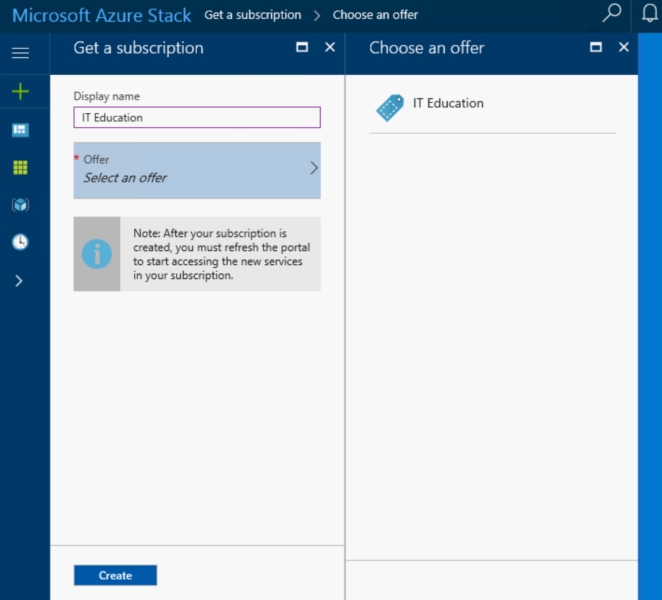
Step 2. Select IT-Education offer.
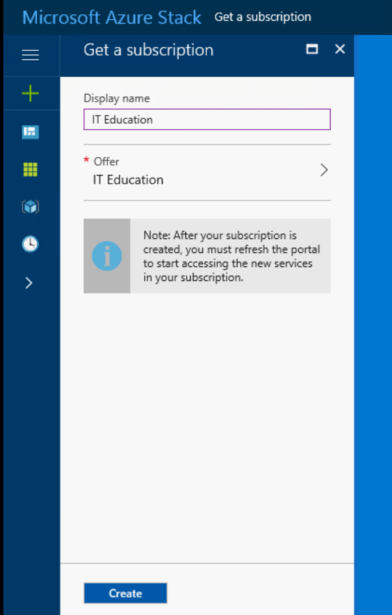
Step 3. Create your Subscription

Step 4. Click on Refresh
Now the Student can Create a New Windows Server 2016 Virtual Machine on Microsoft Azure Stack (ASDK) 🙂
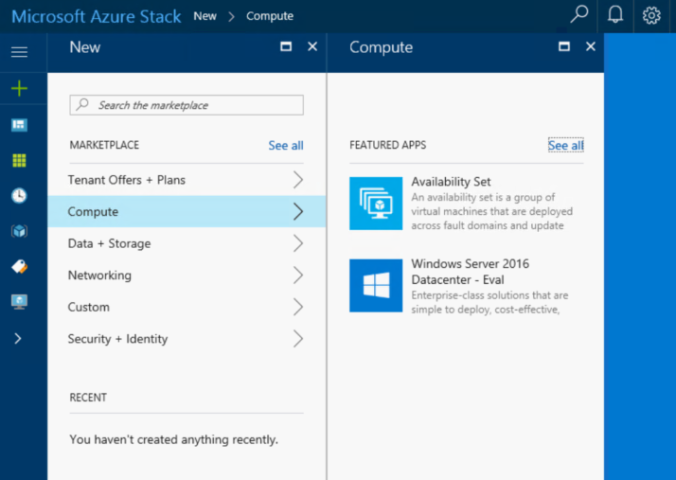
Step 1. Click on New => Compute => Select the Windows Server 2016 Image.
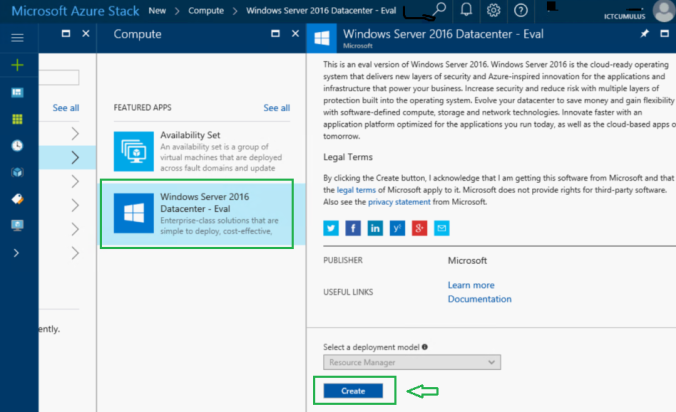
Step 2. Click on Create.
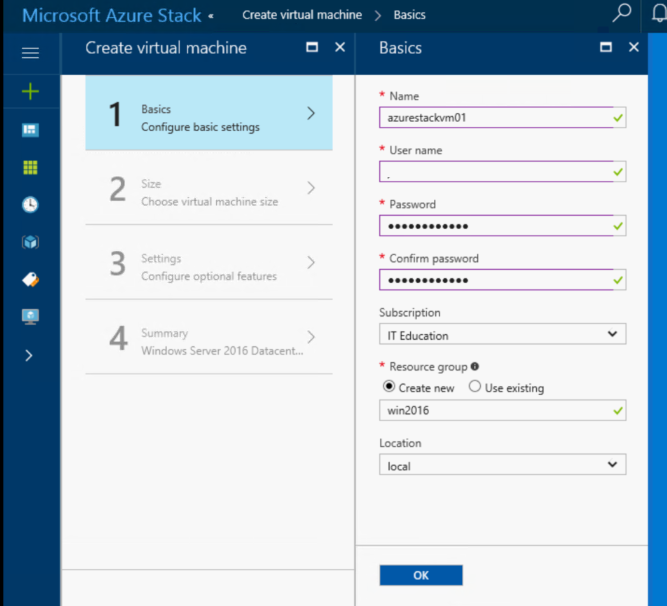
Step 3. Give your Virtual Machine a Name, User, Password, Resource Group
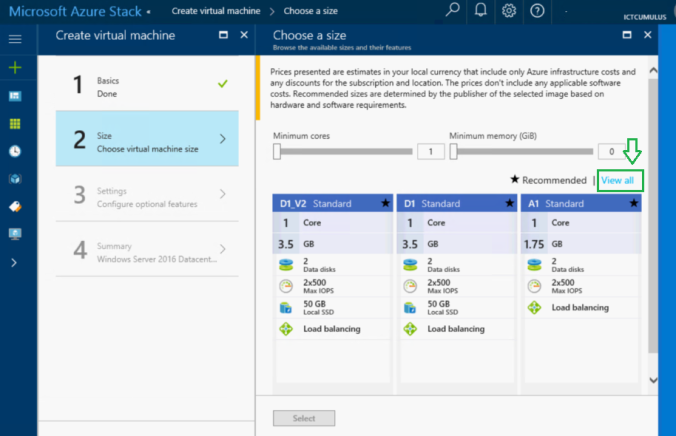
Step 4. Choose your Virtual Machine Specifications ( See View All )

Step 5. We Choose DS2_V2 Machine.
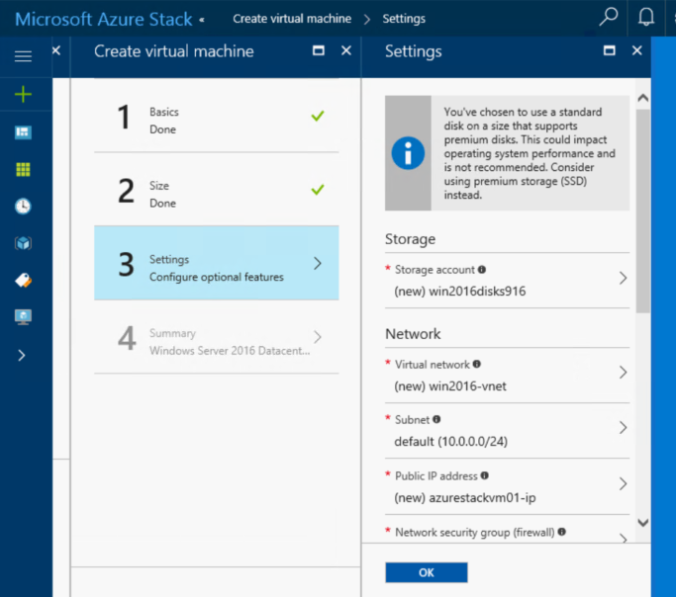
Step 6. Configure your settings
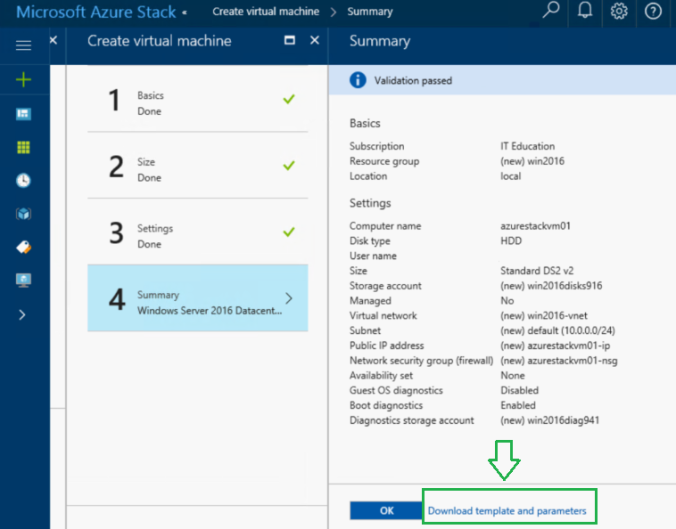
Step 7. Before you Click on OK, have a look at Download template and parameters
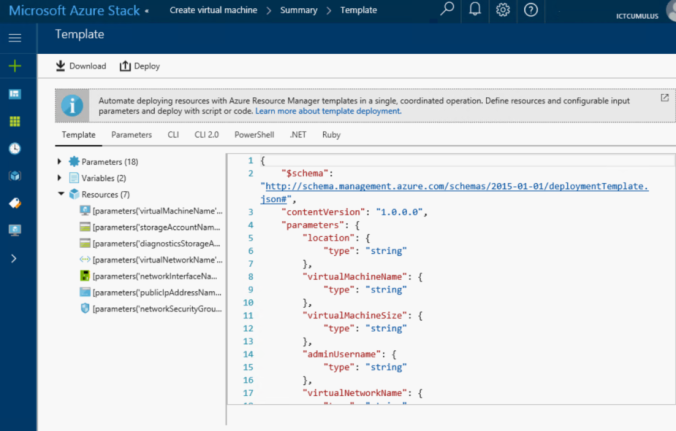
Here you can download your complete template for Automation later 😉
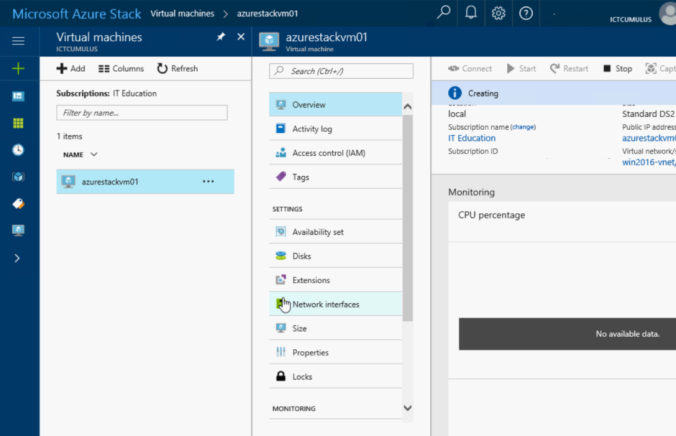
Creating the Virtual Machine for the student.
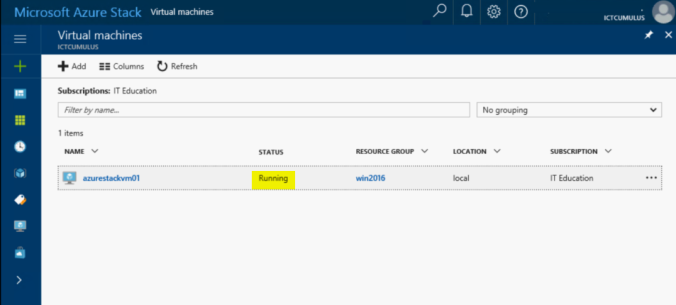
Azurestackvm01 is running and can we connect via RDP
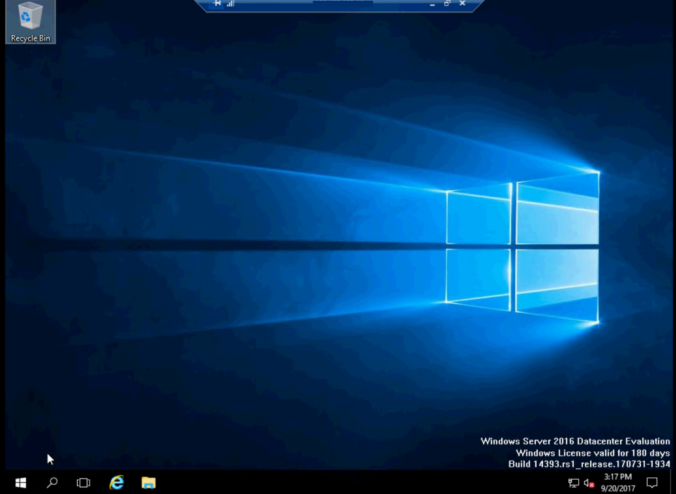 Windows Server 2016 VM on Microsoft Azure Stack Cloud in the Classroom
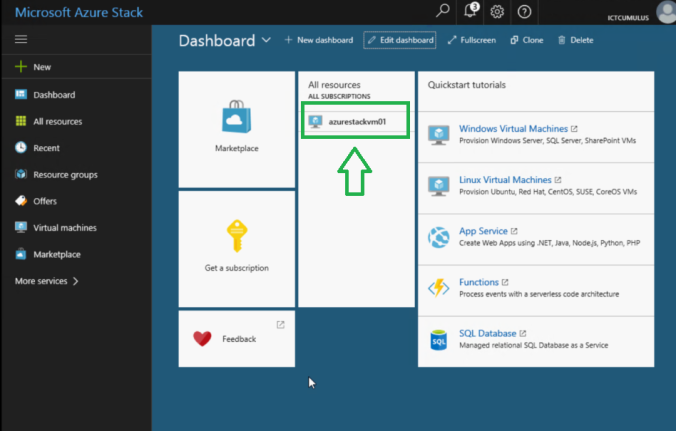
Azure Stack Dashboard in the Classroom for the Student.
For now we will watch Microsoft Ignite to LEARN more and we can’t wait for the next Azure Stack Development Kit (ASDK) to work with Multiple VPN in the Classroom connected to AzureStack for Learning Cloud Development